 Introduction
I attended many sessions at the “HP Protect 2012” conference last September and one of them – the “Plug it in!” by Doron Keller (HP/ArcSight) was very interesting for me. As a former software developer, I always like any possibilities of enriching features of an existing product by writing few lines of code. Furthermore I was looking for such feature because sometimes ESM rules are not powerful enough to do some calculations over a set of fields. I remember that in the ESM 4.x there were possibility to put a Java script code for rule’s variables but I never figured out how to do it, since the documentation never explained how to do it properly. But now I was demonstrated that it is relatively simple to create a piece of Java code and do it inside of the ESM Manager. Performance!
The presentation explained a lot of details and also “Protect 724” also has few threads about ESM plugins. Surprisingly creation of a simple “Hello World” took some efforts to figure out all required steps. So I decided to create this tutorial to simplify the first step in creating a new ESM ArcSight plugin.
Step 1 – setup the development environment
Download the Eclipse http://www.eclipse.org/downloads/ Choose the version that allows plugin-development: for example the “Eclipse IDE for JEE Developers”. The version “Eclipse IDE for Java developers” won’t work.
One of the suggested step is creating a target platform for plugin projects, though I find out that it does not solve all issues.
Create a platform target.
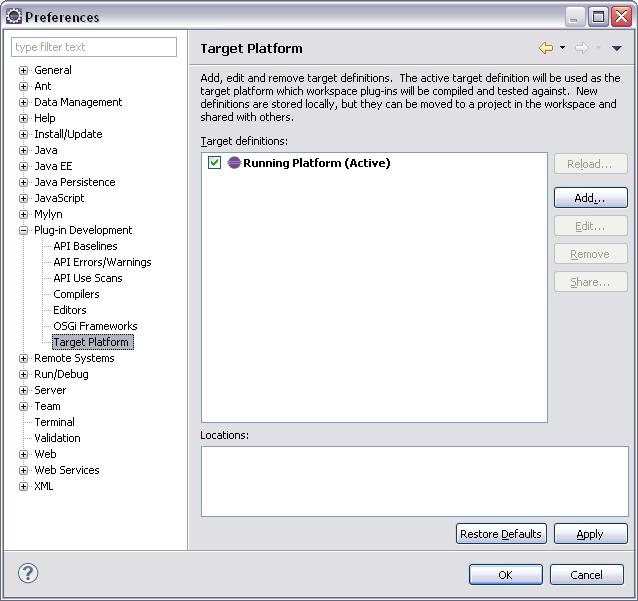
Run the Eclipse IDE and open the menu item Windows -> Preferences, then choose “Plug-in Development -> Target Platform”.
Press the “Add..” button and select a new target:
Choose a new name:
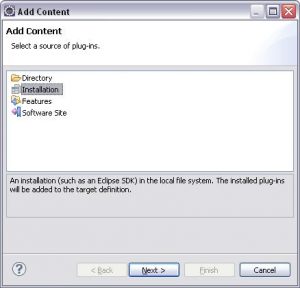
Now add “content” by pressing the “Add..” button:
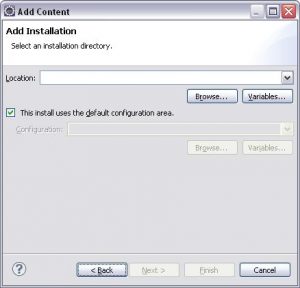
Press “Next” and see the next dialog:
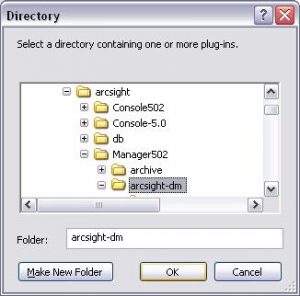
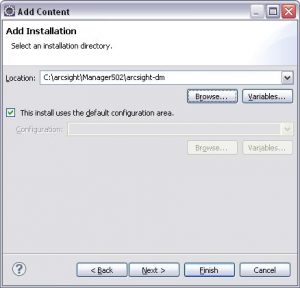
Press the “Browse…” button and locate the “arcsight-dm” folder in the ESM Manager folders structure:
See the updated dialog and press “Finish”:
Now the target is created:
Review and press the “Finish” button, you will see the new target platform in the list:
Press check-mark at the “ESM 5.0.2” to make it active and press “OK” to close the dialog.
